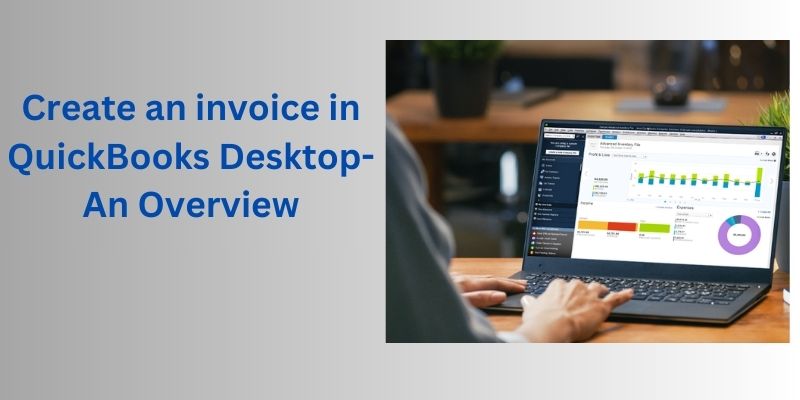
QuickBooks desktop has the ability to create invoices along with documents that are delivered to the buyer to collect payment, which makes QuickBooks one of the most attractive accounting software. You can often look up the invoice creation process in QuickBooks because it may charge fees for certain steps. With invoices, you can also set up a health-savings account in Quickbooks, for contribution.
In this blog post, we will discuss this process in detail. So, make sure to follow this article till the end.
What does an invoice stand for?
Well, an invoice is a promise to pay. It is essentially an asset to the seller and a liability to the buyer. Creating invoices is part of the regular Accounts Receivable workflow in QuickBooks.
Invoices are used to record sales transactions of customers who have not paid for the first time or have paid partially. There are many different ways to create invoices in QuickBooks. It depends on the type of transaction being made with the customer.
Why do you need to create invoices on QuickBooks desktop?
There are many benefits to creating invoices in QuickBooks. Creating Invoices can help you: Easily email invoices to customers directly from QuickBooks. It updates financial statements in real-time. One important thing people should consider is making sure they have all the details needed to create an invoice before starting the process.
How beneficial is writing invoices in QuickBooks?
There is a long list of benefits of creating invoices in QuickBooks. Let’s see how invoices are created:
- Maintaining Legal Sales Records.
- Track payments on both the seller and buyer sides.
- Legal certainty, because it serves as legal evidence.
- Simple tax filing, and recording all sale invoices guarantee the right amount being paid.
- Business data gathers essential data.
Steps to create invoices in QuickBooks from scratch
For those who don’t need to create sales orders or estimates, the A/R workflow starts with invoice creation. The steps to follow are:
- Select Create Invoice from the home screen or customer menu.
- In the Customer Task drop-down list, you need to select the customer or customer task.
If the client or job is not listed, you can select the Add New option.
- Follow up by filling in relevant information at the top of the form, such as invoice number date, invoice/sale to, and terms.
- Select elements. It’s important to note that when you select or add an item, the description and amount will also be populated based on the description and price entered when setting up the item. You can also delete or modify it when creating an invoice.
- This step is optional because if you want to request a discount, you will need to create a discount item.
- You need to access the list menu on the home screen.
- choose an item list.
- Now you need to right-click anywhere and select new.
- Select the type from the drop-down list, then select the discount.
- Additionally, you will need to enter the item name/number and a brief description.
- In the Amount or % field, you must enter a discount amount or percentage.
- If the amount of the discount changes, you will need to input the amount directly on the sales forms and leave the amount or percent section empty.
- Select the income account to be used to track discounts from the account drop-down.
- You will have to choose an appropriate tax code for the item.
- Also, choose the OK button.
- Lastly, select Save and Close.
What are the steps to create an invoice first time in Quickbooks online?
To create the first invoice you have to follow some steps.
- Start by creating an invoice, by clicking submit your first invoice from the invoicing area on the dashboard.
- Now you need to select the customer you’re invoicing and add details. Or just click Save.
- Also, select payment terms
- Enter the product or service being sold and click add.
- Email invoice to customer.
- You will now need to click print or preview and then close when done.
- The next step is to customize the look by clicking on customize and then changing the current look.
- Then select the logo file to add.
- With that, edit the invoice template and then save the invoice once completed.
- Set up online payments and click configure.
- Send the invoice by clicking save and send.
- Finally, personalize the email and send it.
Conclusion
This article focuses entirely on the different invoice creation processes in QuickBooks Desktop. We hope the information we shared above has been of some help to you. This is one of the best services provided by Quickbooks.