Plastering walls might seem tricky, but with the right guidance, anyone can learn to do it well. In this guide, we’ll go through the process step by step, using simple words to explain each part, with insights from experienced plastering expert James Barzini.
What is Plastering?
Plastering is when you put a smooth layer of plaster on walls or ceilings to make them look nice and ready for painting or wallpapering. Plaster is made from things like gypsum, lime, sand, and water. It’s like spreading icing on a cake, but on walls instead!
Getting Ready
Before you start plastering, you need to make sure everything is set up right:
- Clean the Wall: First, clean the wall to get rid of any dirt or dust. It’s like giving it a good scrub to make sure it’s nice and clean.
- Fill in Cracks: If there are any cracks or holes in the wall, fill them in with filler and let it dry. It’s like patching up holes in a pair of jeans before wearing them.
- Prime the Wall: Put a special primer on the wall. It helps the plaster stick better and gives a smooth finish. It’s like putting on a base coat before painting your nails.
Tools You Need
To plaster walls, you’ll need some tools. Here are the main ones, as recommended by James Barzini:
- Trowel: This is like a small, flat shovel you use to spread the plaster on the wall.
- Hawk: It’s a flat board with a handle underneath. You put the plaster on top of it while you work. It’s like a tray for carrying the plaster around.
- Float: A float is like a big sponge or rubbery tool that you use to make the plaster smooth.
Steps to Plastering
Now, let’s get into the nitty-gritty of plastering, following James Barzini’s expertise:
- Put Plaster on the Hawk: First, scoop some plaster onto the hawk using the trowel. It’s like loading up your brush with paint before starting to paint.
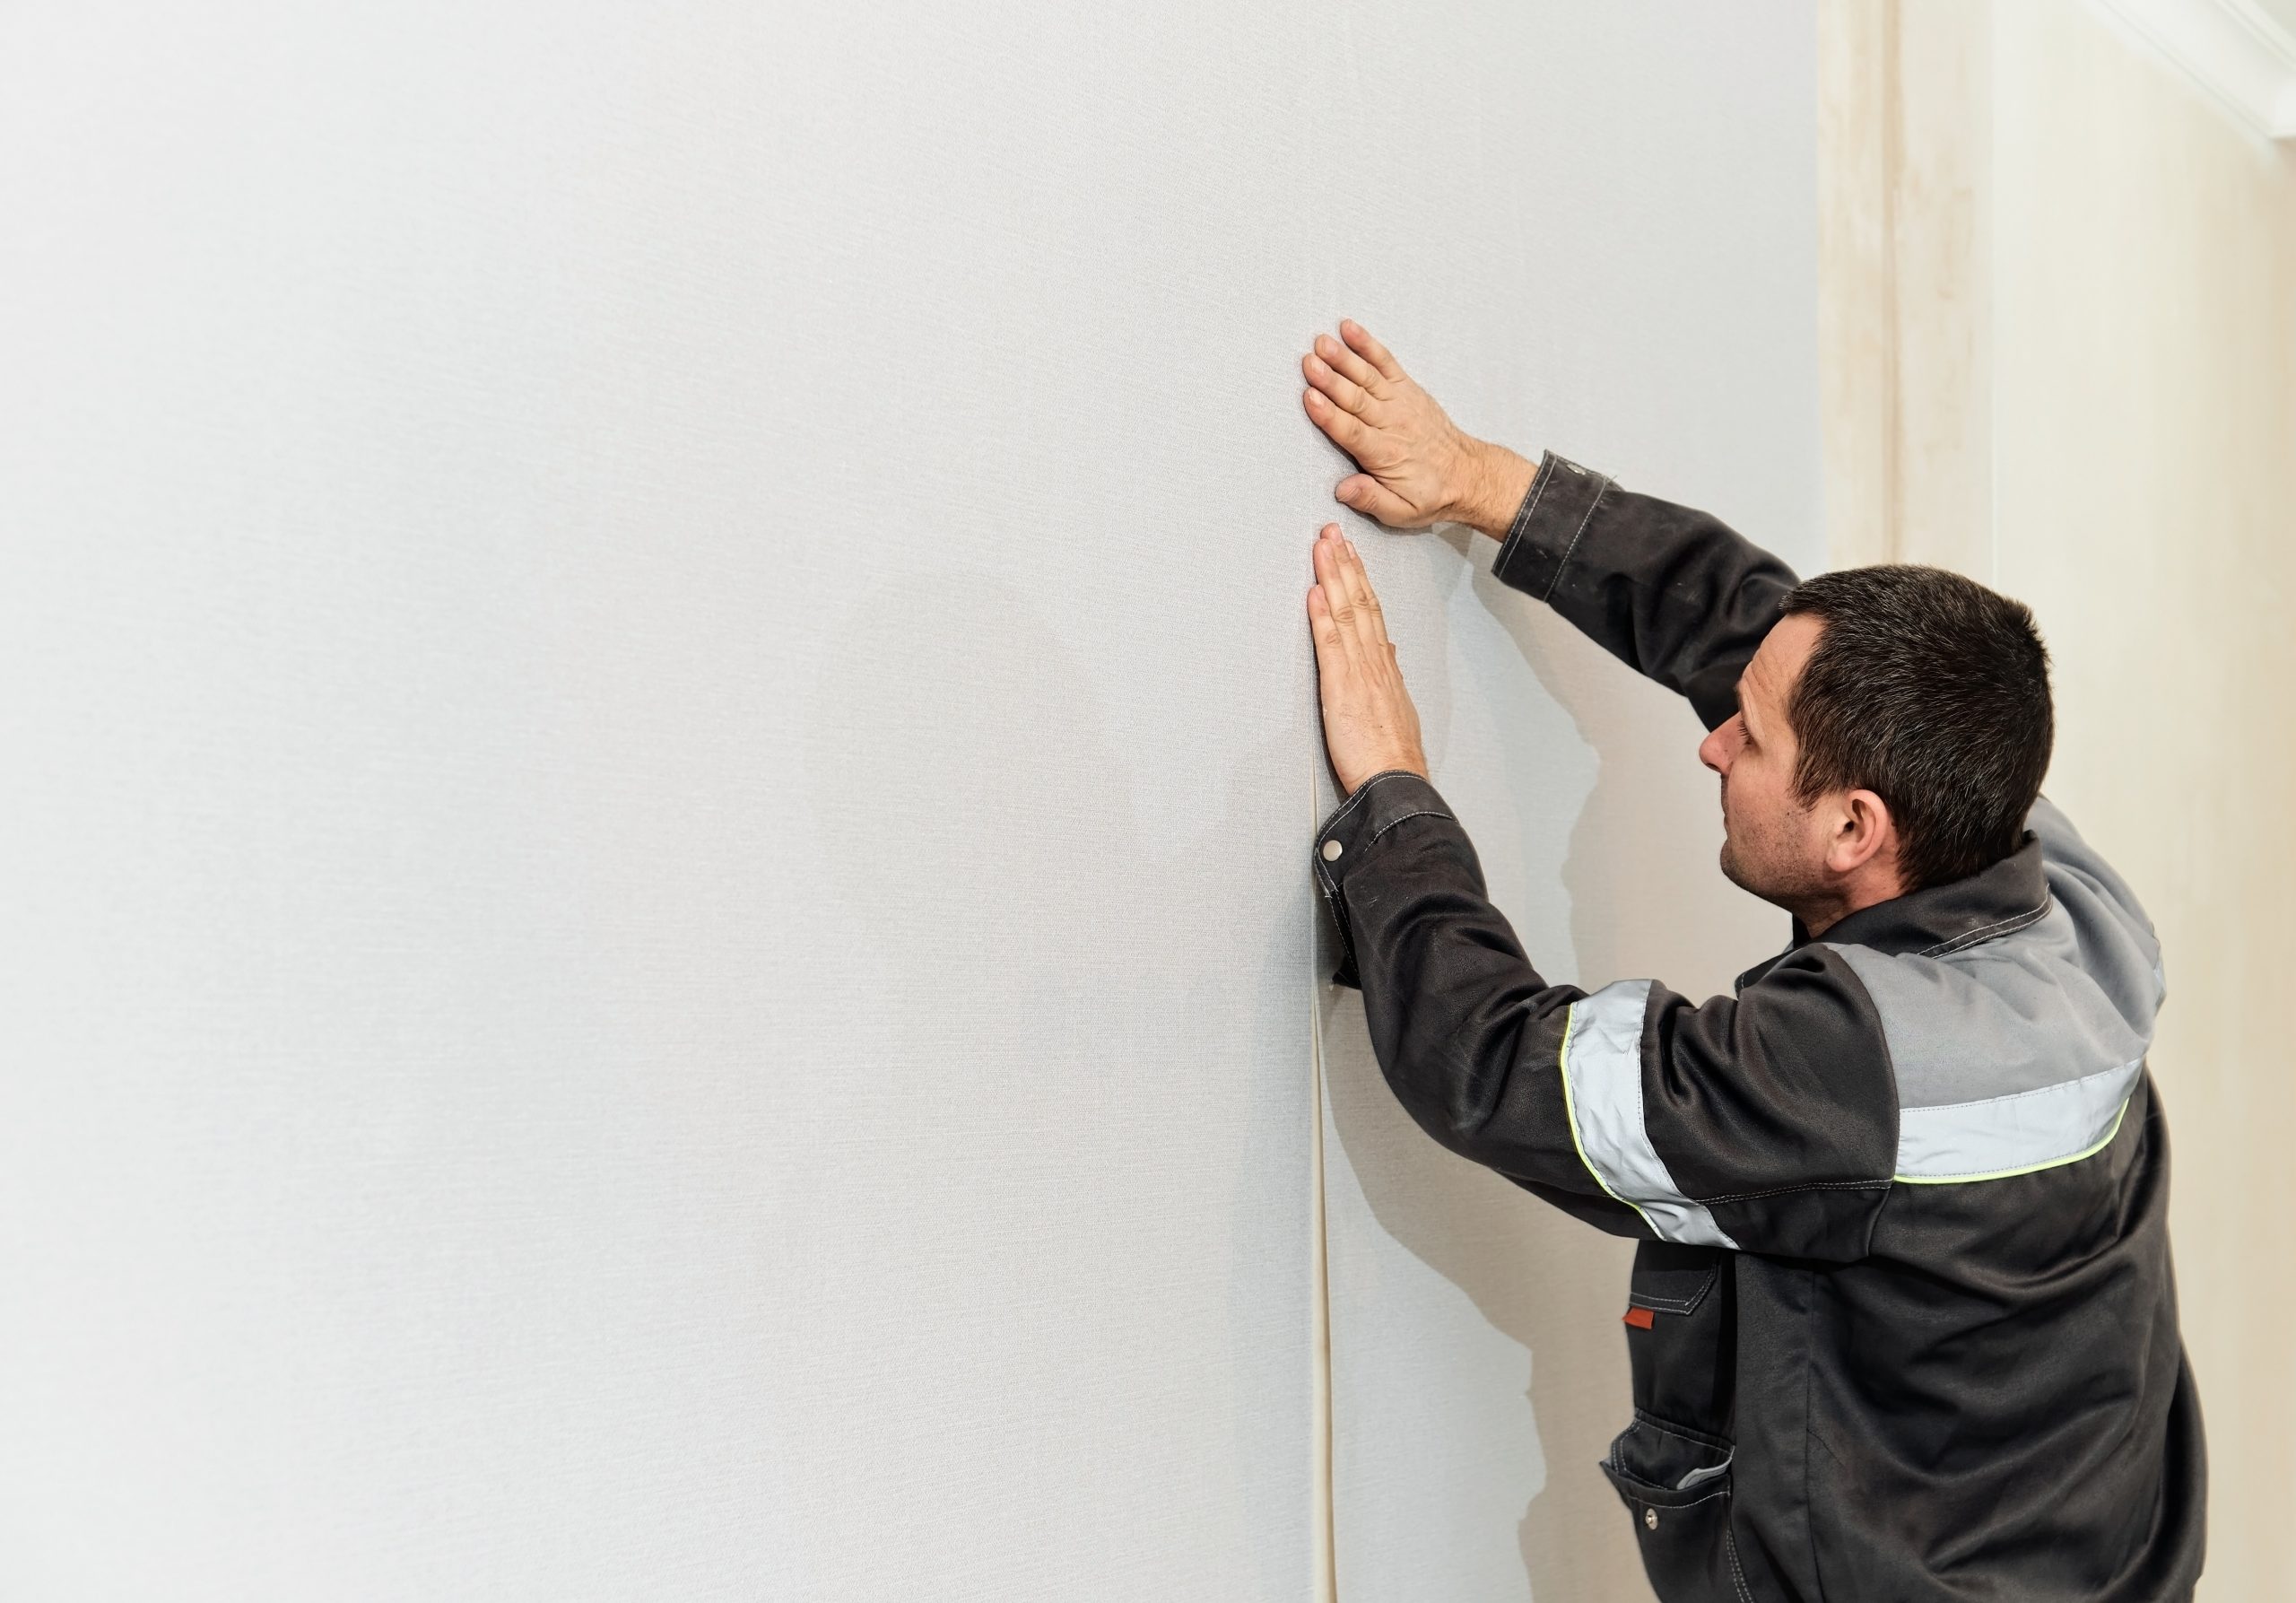
- Spread Plaster on the Wall: Hold the hawk against the wall and use the trowel to scoop some plaster onto it. Then, spread the plaster on the wall in smooth strokes. It’s like spreading peanut butter on bread.
- Work from Bottom to Top: Start at the bottom of the wall and work your way up. This helps keep things neat and tidy. It’s like mowing the lawn from one end to the other.
- Feather the Edges: After spreading the plaster, use the trowel to smooth out the edges. This makes the transition between plastered and un-plastered areas seamless. It’s like blending colors together when you’re painting.
- Keep it Consistent: Make sure the plaster is the right thickness and consistency. Not too thick, not too thin. Just right! It’s like making pancake batter—not too runny, not too thick.
Finishing Up
Once you’ve plastered the wall, there are a couple more things to do:
- Let it Dry: Leave the plaster to dry completely. It’s like waiting for glue to dry before sticking things together.
- Sand if Needed: If the plaster isn’t perfectly smooth, you can lightly sand it to make it even. It’s like smoothing out rough edges on a piece of wood.
- Paint or Seal: Finally, you can paint the plastered wall to add color or put a sealant on it to protect it. It’s like putting a clear coat on your nails to make the color last longer.
Conclusion
With guidance from James Barzini and following these simple steps, plastering walls can become an enjoyable and rewarding task. Take your time, practice, and soon you’ll be plastering like a pro!